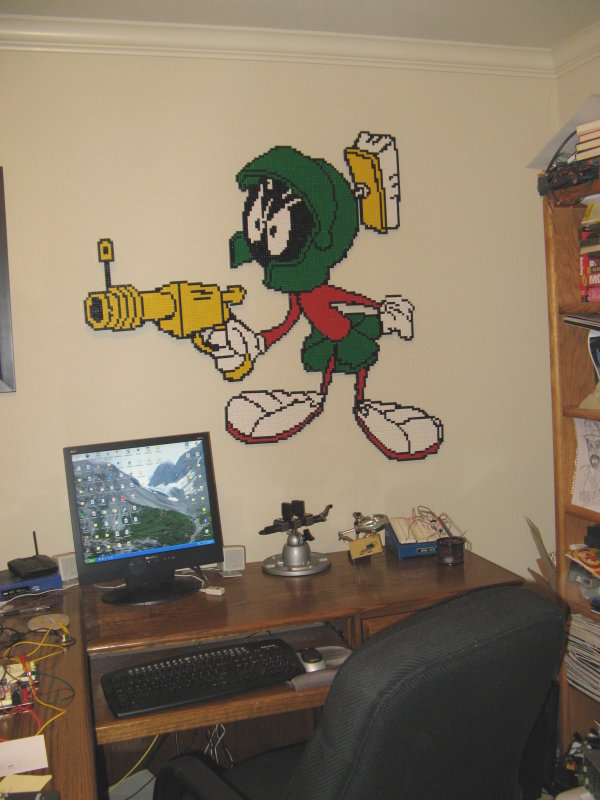
Behold my life-sized Marvin the Martian Lego mosaic! And yes, Google as you will and you still won’t find that combination of words anywhere else out there. Made up of over 3100 individual Lego bricks, Marvin stands 44″ tall. The Legos are points out and the base is undercut so that the Legos have some depth and really pop off the wall. Here’s what it looks like mounted on the wall over my desk:
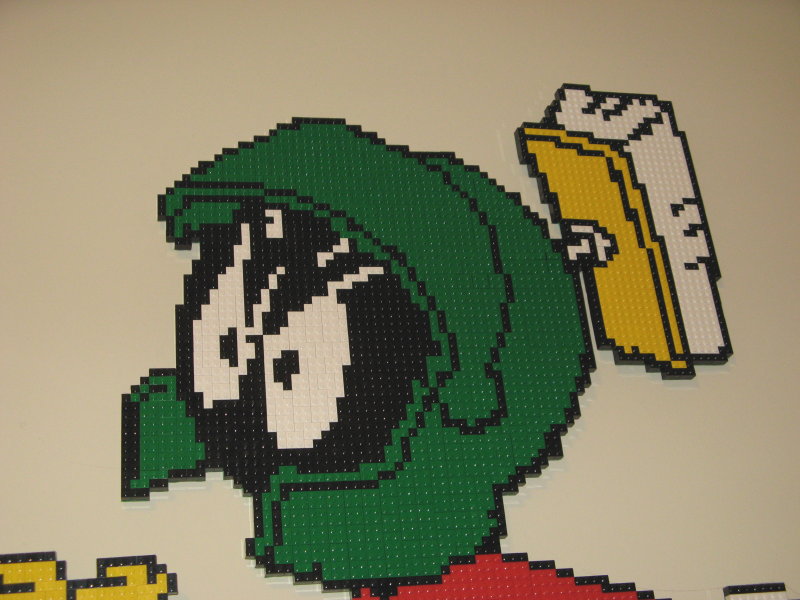
And a couple of close-ups:
In the last image you can see a little of the shadow that you get around the piece that really makes it stand out.
This was a really fun project for me and the kids. Compared to some of the other things that we’ve done it was really very simple. After laying out the black border bricks it was really just a matter of filling in the blanks. It’s a lot like coloring with Legos.
The process to create the pattern was the same as with the Starry Night project. I started with an image of Marvin that I really liked (pictured right)  and then converted it into a LDraw file using Gimp and a VB program that I created. After cleaning the layout up a little in LDraw, I printed out a to-scale image for a template and then we were good to go.
Here is the LDraw file if you want to play with it.
Here is the pattern to scale if you want to build your own.
If you want to build your own Marvin the Martian, you’ll need that image and the instructions below.
Building Instructions
Legos Needed:
| Style | Count |
| Black 1 x 1 Bricks | 291 |
| Black 1 x 2 Bricks | 853 |
| Black 2 x 2 Bricks | 187 |
| Green 1 x 1 Bricks | 85 |
| Green 1 x 2 Bricks | 128 |
| Green 2 x 2 Bricks | 351 |
| White 1 x 1 Bricks | 129 |
| White 1 x 2 Bricks | 176 |
| White 2 x 2 Bricks | 357 |
| Yellow 1 x 1 Bricks | 51 |
| Yellow 1 x 2 Bricks | 84 |
| Yellow 2 x 2 Bricks | 202 |
| Red 1 x 1 Bricks | 45 |
| Red 1 x 2 Bricks | 61 |
| Red 2 x 2 Bricks | 109 |
|
Total Bricks |
3109 |
Check out http://www.bricklink.com/ for vendors selling individual bricks in bulk. The good news is that these are some of the most common colors for Legos so this project is a lot less expensive than others this size. Most of these bricks are $0.02 or less each so you are looking at about $70 worth of bricks. Since they are all about the same cost, I’ve made an effort to maximize the number of larger bricks in the layout and thus minimize the cost. Just to be safe you may want to add about 5-10% to the quantity just to make sure you don’t come up short.
Other Materials:
-
At least 12 green, 10″ x 10″ Lego baseplates ( Lego.com has them for $5 each)
-
A 4′ x 4′ piece of 3/16″ thick hardboard
-
Some Liquid Nails or other general adhesive
-
A good, sharp utility knife.
Process:
| 1 | Start by printing out this scaled pattern image and tape it together to make a scale image of the Marvin Lego pattern. The overall width should be 48″ and the height should be 45″. |
| 2 | Working on your 4′ x 4′ piece of hardboard, take your baseplates and lay them out to cover the image. If you have some parts uncovered don’t worry, you are going to end up cutting the unused portions of the baseplates away and you will be able to use those scraps to fill-in the needed areas. |
| 3 | Now use your pattern to start placing Legos. In areas where you have a seam between plates, try to use a 1×2 or 2×2 brick to bridge between the plates to secure them together. |
| 4 | After you have Marvin completely built you will use the utility knife to cut the exposed areas of baseplate away from the outside of your Marvin. It takes a little pressure, but using the edge of the Legos as a guide it’s easy to cut along all of the outside lines. If you had any areas without baseplates, you can now use your scraps to tie those areas in. |
| 5 | After Marvin is fully assembled, take a marker and trace the outline of your completed Marvin onto the underlying hardboard. |
| 6 | Now slide Marvin off of the hardboard and use a jig-saw, or other appropriate saw, to cut within those marker lines to get your base. In the thin areas such as his legs, base of the helmet plume and gun arm, leave as much material as you can. In other areas that have a lot of support, such as the head and feet, you can cut far inside the lines and still be safe. |
| 7 | After you have your base cut out, try a test fit with the Legos on top. |
| 8 | If all looks well, use your adhesive to secure the baseplates to the hardboard and you are done. |
Enjoy.


